
TIPS FOR SMARTPHONE PHOTOGRAPHY

BEST PHOTOGRAPHY TIPS :
Nowadays, it is difficult to find a person who does not have a smartphone. And many people are taking beautiful pictures using this smart phone, and these pictures suit professional photographers. With this in mind, in today's article we have come up with ten tips for beautiful photography, which will add a new dimension to your photography and you will become more proficient in Android photography. Let's get to know the tips.
1. Learn about Auto Mood:

Knowing how your phone's auto mode works will help you take better pictures. Take time to notice when your phone is using High ISO or the shutter speed is getting longer. This way will help you to learn more about Auto Mode, and you can learn more about AutoMode and use different default options from your settings if needed.
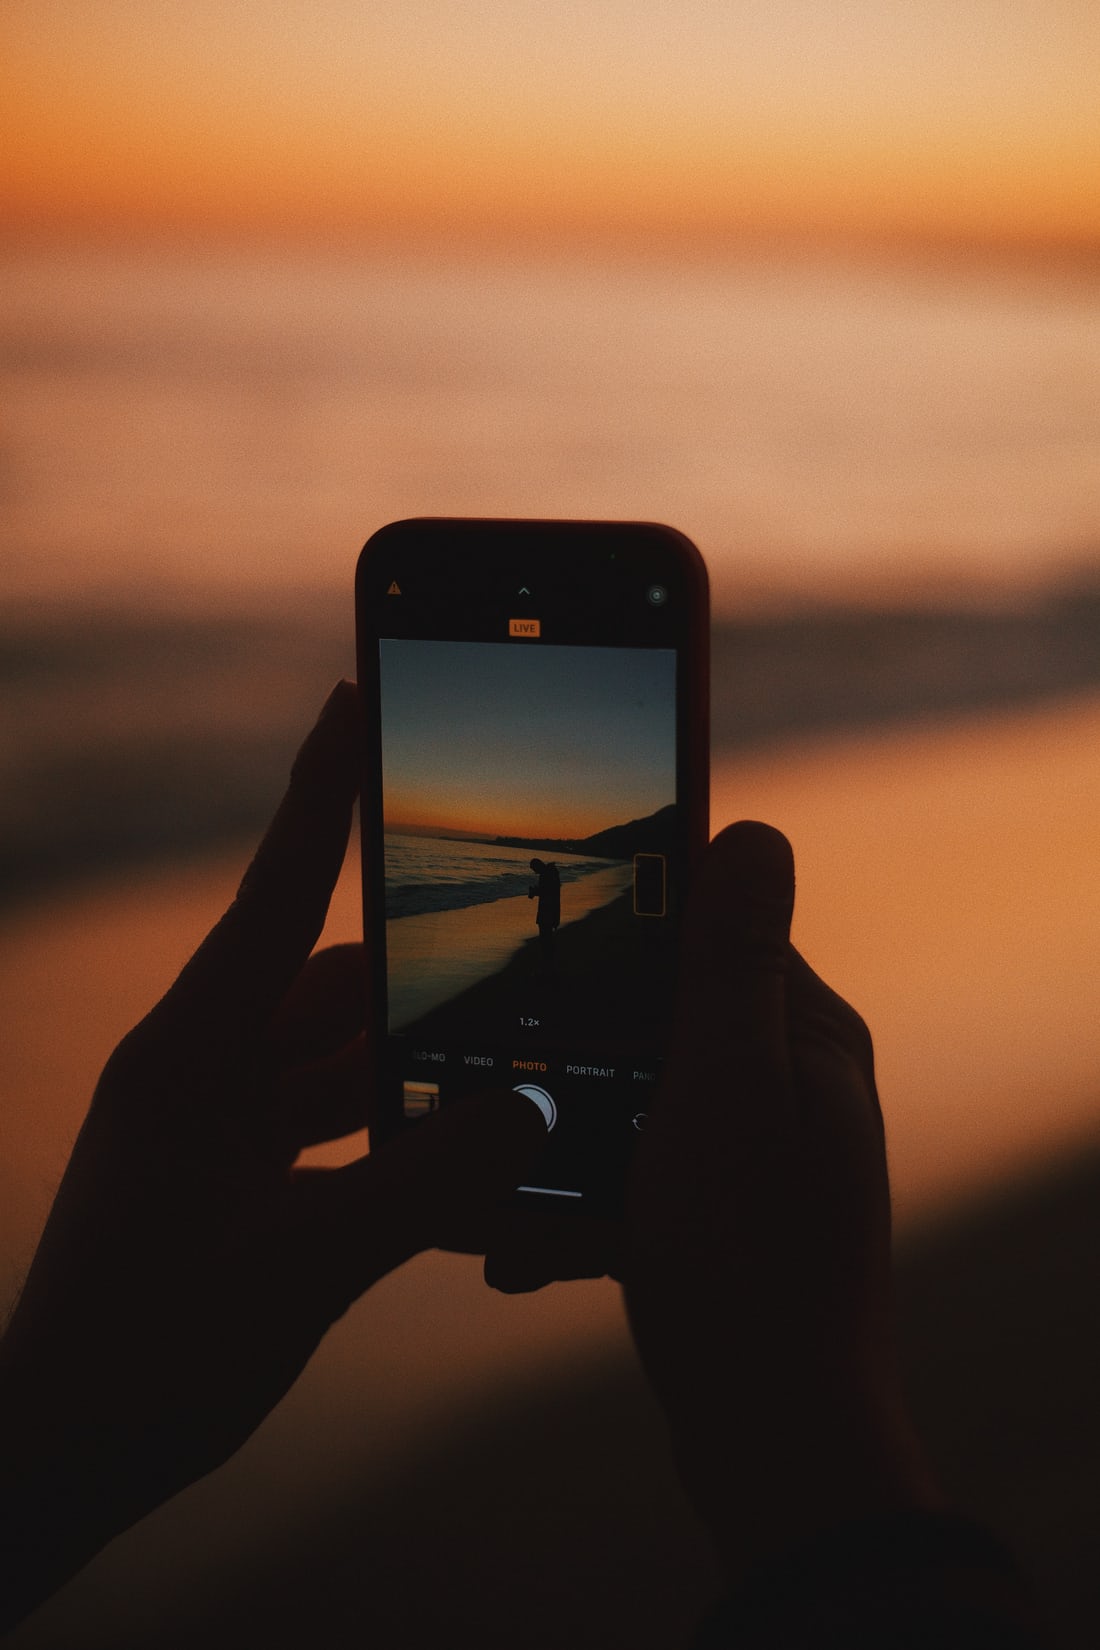
2. Check the default option of setting:

Even if you take good pictures in auto mode, it is not always effective, especially indoors and on cloudy days it is not possible to take good pictures with auto mode, not only with your Android phone but also with the best camera in the market. ? If you encounter such problems, you must first switch from auto mode to manual mode.There you can increase or decrease the brightness or darkness as you wish or whatever you feel is more.
For example, if you think that the white balance may be off now, then you can easily turn it on and make your picture quality more beautiful.Also in the manual option you can easily change the ISO and shutterspeed. You can adjust the amount of motion blur in your image, the amount of grain, etc., usually with a little less than 1/30 of the shutter speed. Smartphone cameras can capture good light.There is also HDR mode, which makes your image more vivid and realistic. With this mode you can easily make your image more vivid. You can easily turn on HDR mode from your settings bar.
3. Try to keep your hands steady :

4. Digital zoom should never be done :
Users are always forbidden to zoom in with the camera of the Android phone to take good pictures. But at present this advice is no longer applicable as phones like iPhone X and Samsung Galaxy Note 8 have 2x zoom option in the secondary camera, so there is no question of not using the camera of these phones with 2x. Rather, it is possible to do better quality photography with these cameras.
But on phones that do not have these zooming options, we advise not to zoom automatically. Because it destroys the quality of your image and other qualities. So it is better not to zoom automatically for normal phone. And if your phone has a zoom lens, then you should automatically keep the zooming in the range of 1x or 2x.
5. Take multiple shots

6. Image editing:

We don't usually take good pictures all the time, and when we take pictures, we don't get enough detail. And to solve this great problem we can edit the picture. With the help of photo editor, you can easily adjust the white look, darkness, photo blur, details, etc. of your photo to your liking. So every mobile photographer should use a good photo editor.
Editing is a most important part. If you love to do photography. You also need to know how to retouch or edit a photo. And if you are a mobile user you can using adobe lightroom mobile. This is a best mobile photo editing apps. You can edit your photo manually and if you dont know how to edit a photo you can use preset/ filter. Without any skills you can edit your photo using preset in only one click. For download preset and more information 🔽🔽
▶️LIGHTROOM PRESETS
7. Capture on RAW:

Those who do professional photography are very familiar with capturing photos in RAW files. Normally DSLR users take pictures in RAW file but now you can also capture photos in this file with your Android phone. Usually the quality of the photo in the JPG file decreases a bit, especially the photo details including the brightness and darkness. But there is no such problem in RAW file format. Every aspect of the picture is beautifully presented in this format. Which helps you a lot when editing later.
8. Provide more light:

The whole point of photography is the play of light. So you need to make sure that there is enough light on the object you are targeting. But we can't always provide enough light to our marked objects, so if you take pictures with your phone's camera IS and 200 or less, your picture will be clearer even in low light. But for good photography you need to avoid low light, as much as possible to arrange the light towards your marked object.
9. Google Camera App:

The Google Camera app can be a useful tip for Android photographers. We've all probably heard of the Google Pixel phone, the camera of these phones is relatively good, these phones have all of Google's own apps, especially Google's own apps in the camera. Due to which its photography quality is further improved.
Even if your phone is not from Google, you can try using Google's camera apps. This will improve the quality of your camera a little bit. You can try and use ADR mode with all its moods and take more beautiful pictures and surprise everyone.
10. Learn when to use portrait mode:

The last tip is about the portrait mode, and this topic is becoming popular day by day. Portrait moods try to mimic the background blur or bokeh. In many phones, this is done through additional sensors, although smart agents like the Google Pixel 2 can easily perform the functions of this mode without anything extra. Usually there is no comparison to the portrait mood to blur the extra parts on the back of your object. You can use portrait mode whenever you need to blur extra parts. And there is no obligation to take pictures with portrait mode all the time. You look at your surroundings, notice everything including the adequacy of the light then select the mode.
Hopefully these few tips will help you more in photography and encourage you to gift more beautiful pictures.
©All information are collected from a bangla blog site. I just translated and change some small steps.